Accessing Groups
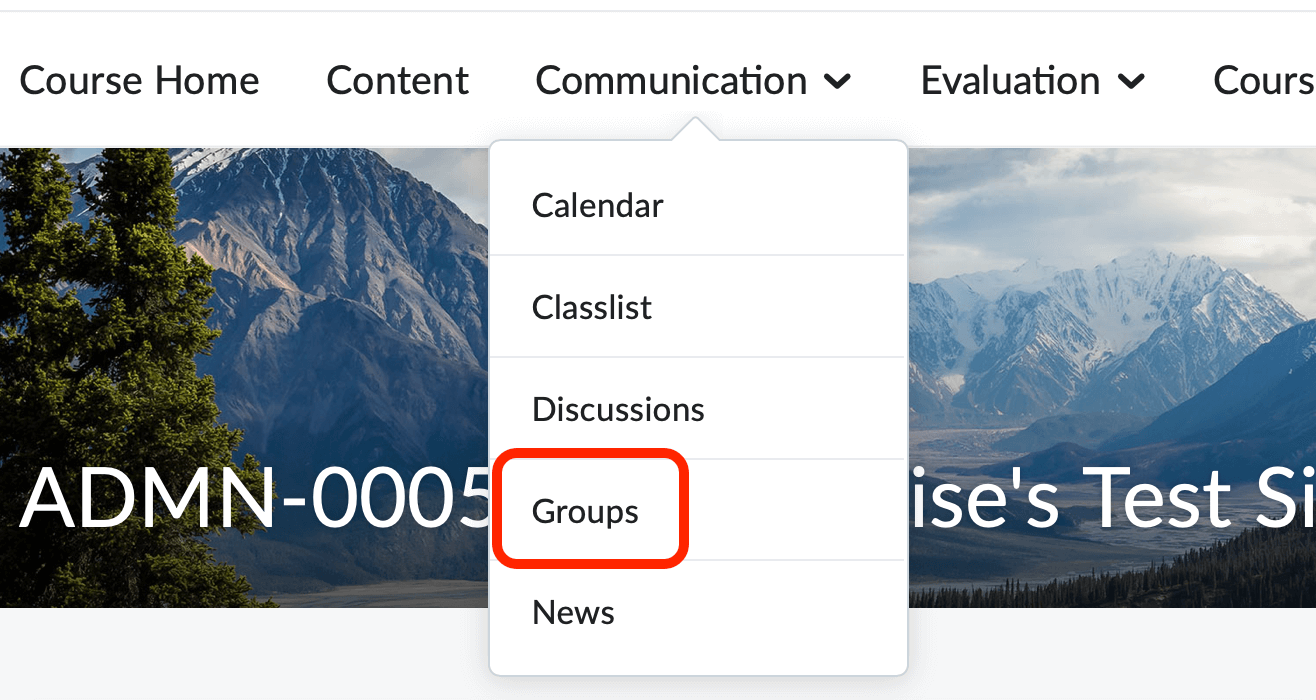
The Groups tool is located under Communication on the default Course Nav Bar.
The groups tool is an excellent way to organize your class into collaborative work areas. You can use groups to mediate discussion boards, organize collaborative dropbox folders, and create assignment and project sign-ups. Students can belong to multiple groups within the same course. As the instructor, you can set up your groups to populate automatically, assign members manually, or let students choose their own groups.
-
Creating Groups
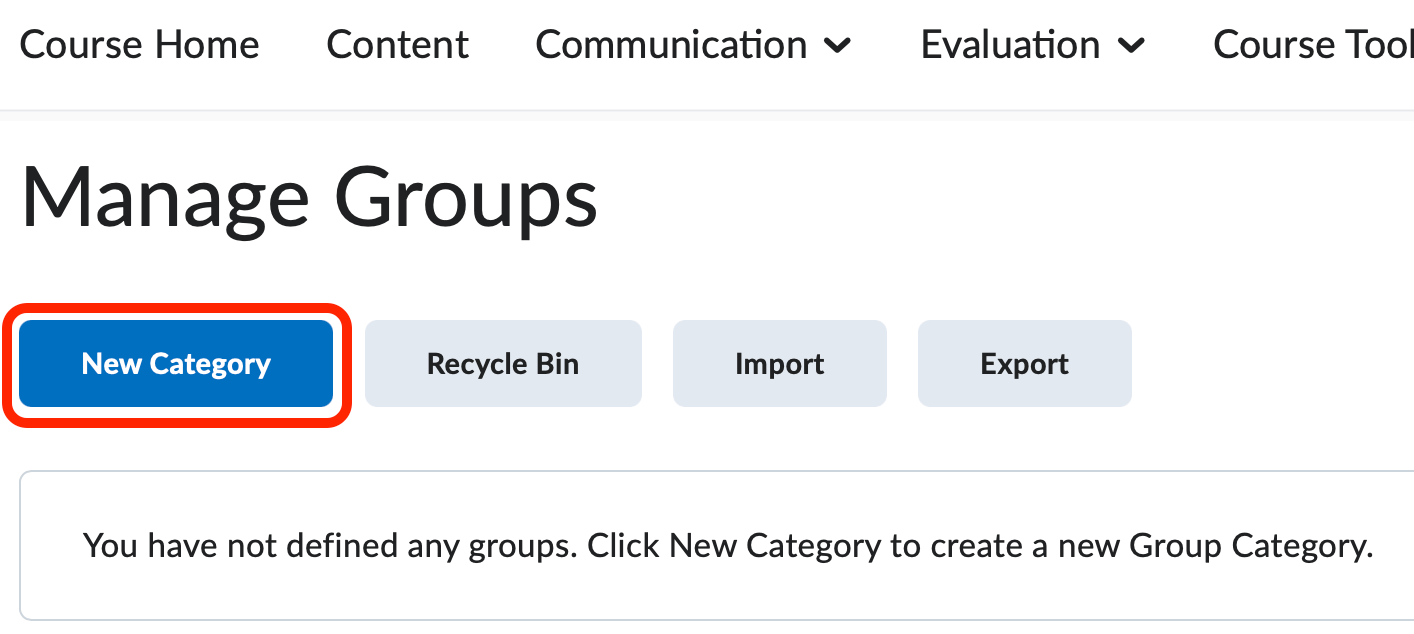
The Groups tool is organized by category, meaning that each set of groups must belong to a category. Follow these steps to create groups within your course:
- Click the New Category Button
- Enter a Category Name.
- Enter a Description (optional).
- Select the Enrollment Type of your choice:
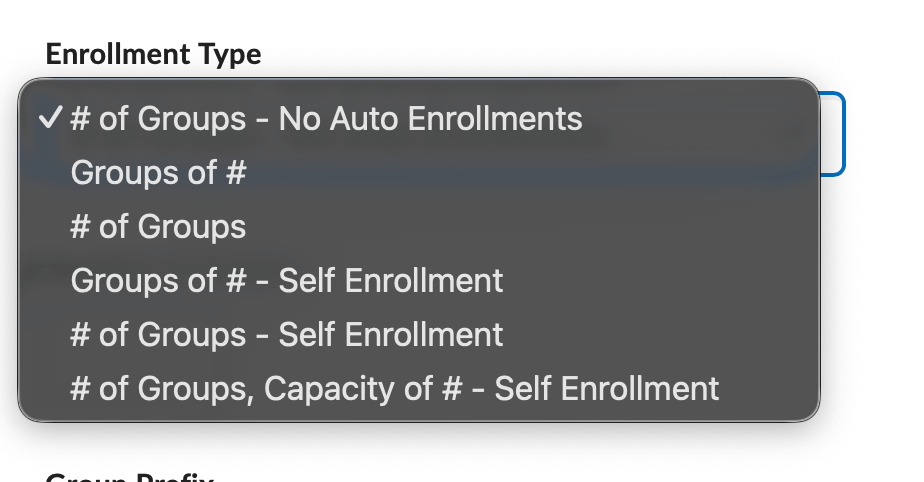
- # of Groups - No Auto Enrollments - Selecting this option will allow you to specify the number of groups in this category and allows you to manually enroll each student in groups.
- Groups of # - Selecting this option will allow you to specify the maximum number of students per group. D2L automatically populates this group enrollment type.
- # of Groups - Selecting this option will allow you to specify the maximum number of groups per category. D2L automatically populates this group enrollment type.
- Groups of # - Self Enrollment - Selecting this option will allow you to specify the maximum number of students per group and gives your students the opportunity to enroll themselves in a group.
- # of Groups of # - Self Enrollment - Selecting this option will allow you to specify the number of groups in this category and gives your students the opportunity to enroll themselves in a group.
- In the Additional Options section, mark the appropriate checkboxes to automatically create group restricted
discussion areas and dropbox folders.
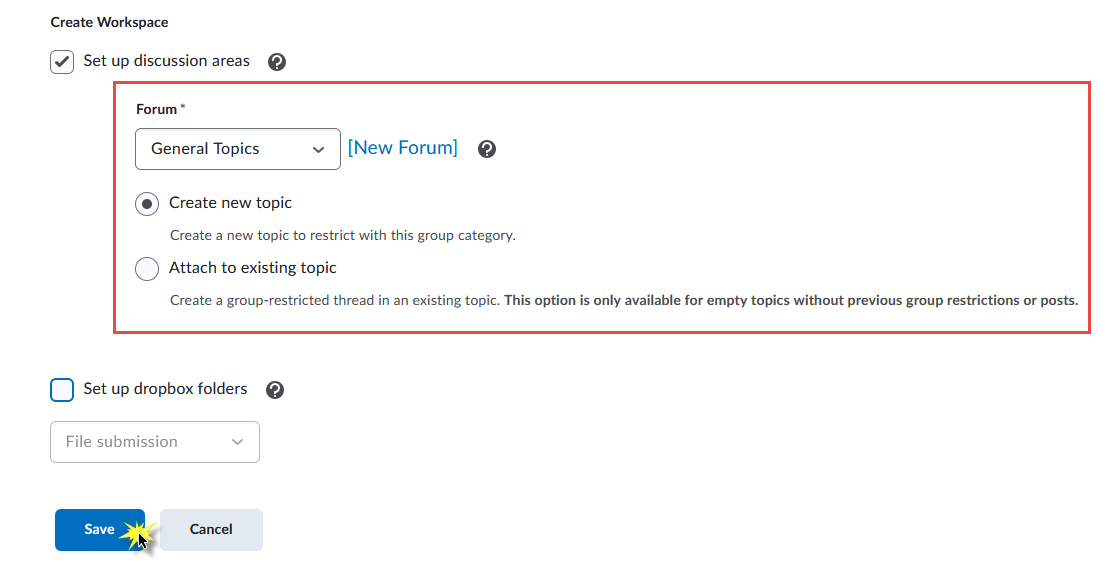
- Note: Marking Set up discussion areas will present you with the opportunity to select or create a forum. Then, D2L will automatically generate one topic per group within. Marking Set up dropbox folders will create one "group" dropbox folder per group. These group dropbox folders allow for each student within the group to see all group member submissions.
- Click Save.
- On the next screen you can create your discussion topic details.
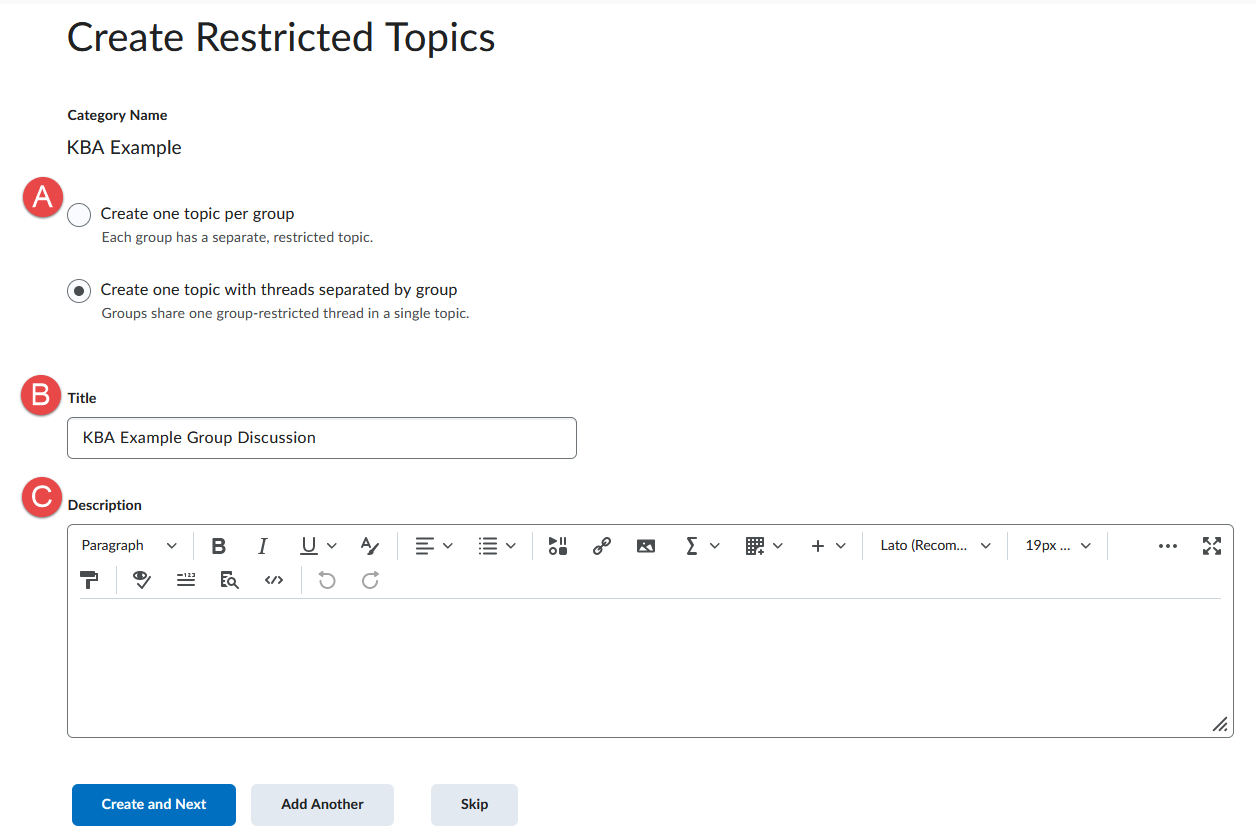
- Either toggle Create one topic per group or Create one topic with threads separated by group.
- Put in a Title for the discussion topic.
- Add a Description (optional).
- Click Create and Next.
- Click the New Category Button
-
Edit a Category Name or Group Name
- Navigate to the Manage Groups page by selecting the Groups tool from within the Communication link group located on the default Course Nav bar.
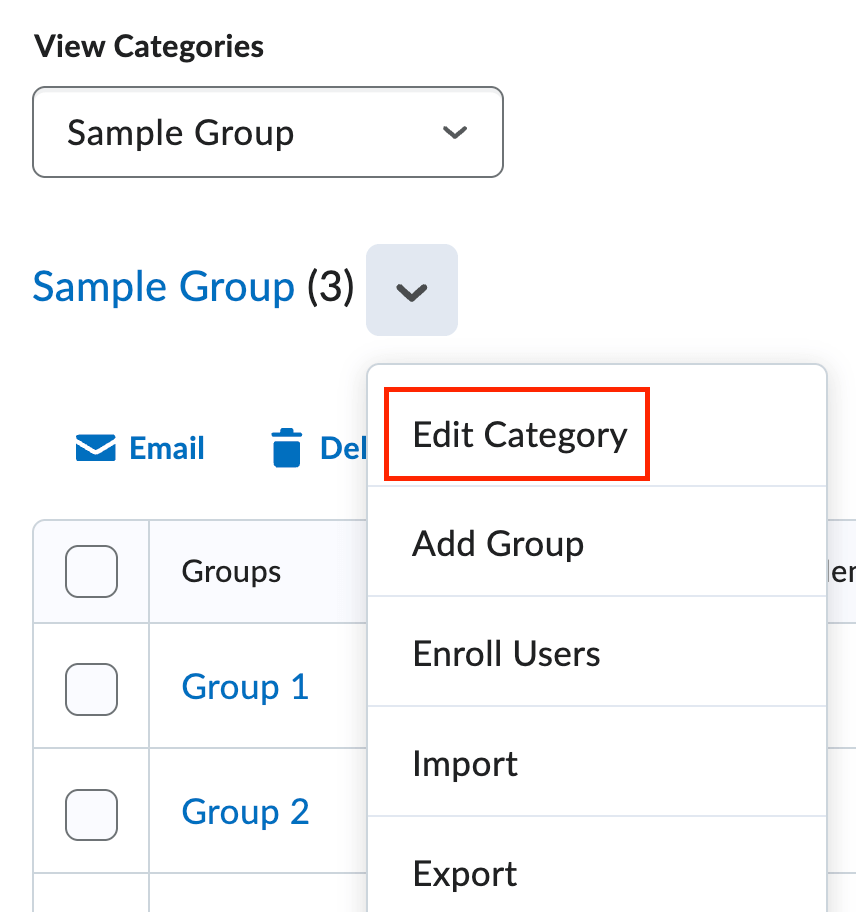
- Click on the Category or Group you wish to edit.
- Make the appropriate changes and click Save.
-
Manually Add a Student to a Group
Selecting the # of Groups - No Auto Enrollments during the creation of your group categories requires you to manually assign students to a particular group. Follow these instructions to manually enroll your students into groups:
Method 1
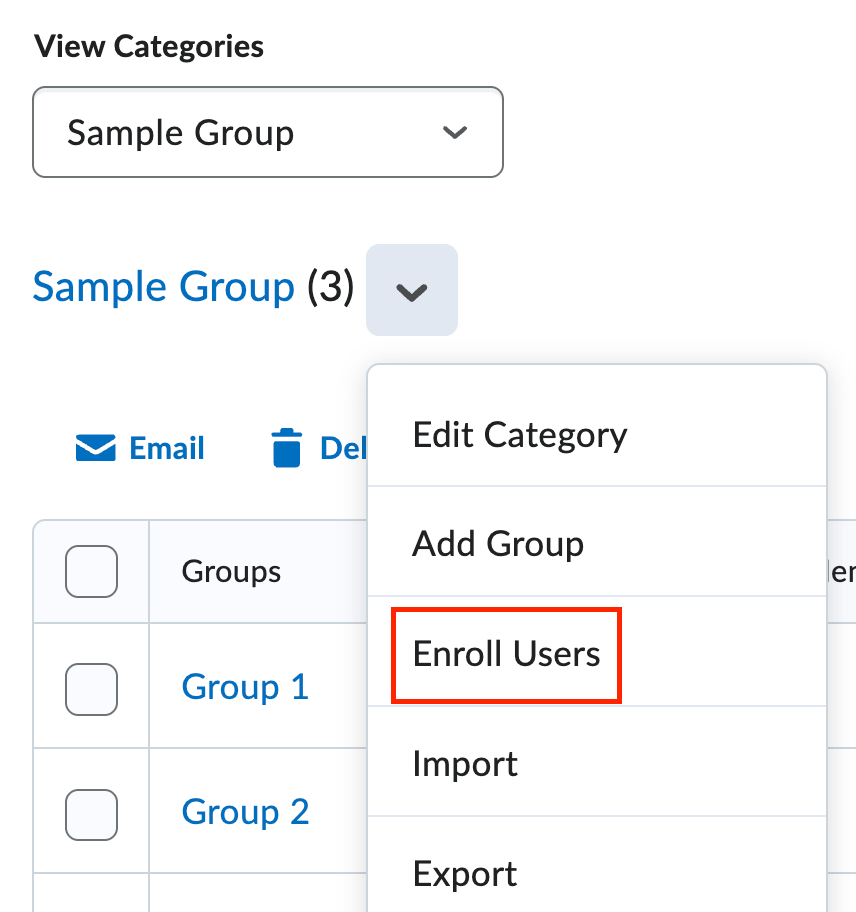
- Select Enroll Users from the context menu of the group category.
- You will be redirected to the Enroll Users screen. From here, for each student enrolled in your course, select the appropriate
checkbox for the group you wish you assign the student.
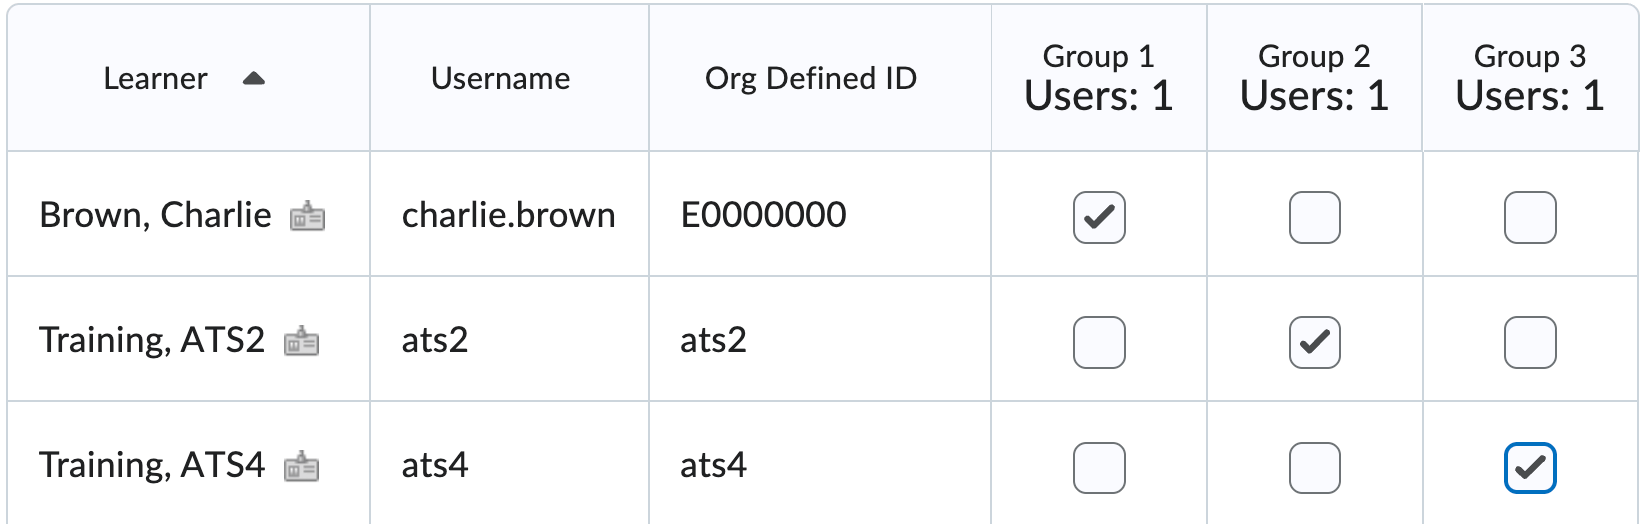
- Click Save.
Method 2
- Locate the group category you wish to assign and click a group name.
- The Edit Group Screen will display. This screen will give you the opportunity to edit the group name,
group code, and group description.

- The Edit Group Screen will display. This screen will give you the opportunity to edit the group name,
group code, and group description.
- Click the Enroll Users button to begin assigning students to this group.
- The Enroll Users screen will display. From here, mark the checkbox to the far right of a student's name to assign him/her to this particular group.
- When you have finished sele cting the users for this group click the Save button.
- Repeat these step for the number of groups you have created.
- Select Enroll Users from the context menu of the group category.
-
Delete a Student from a Group
- Select Enroll Users from the context menu of the group category
- You will be redirected to the Enroll Users screen. From here, clear the checkbox(es) beside the student's name you wish to remove from the group.
- Click Save.
- Select Enroll Users from the context menu of the group category